Very Irregular Blogging
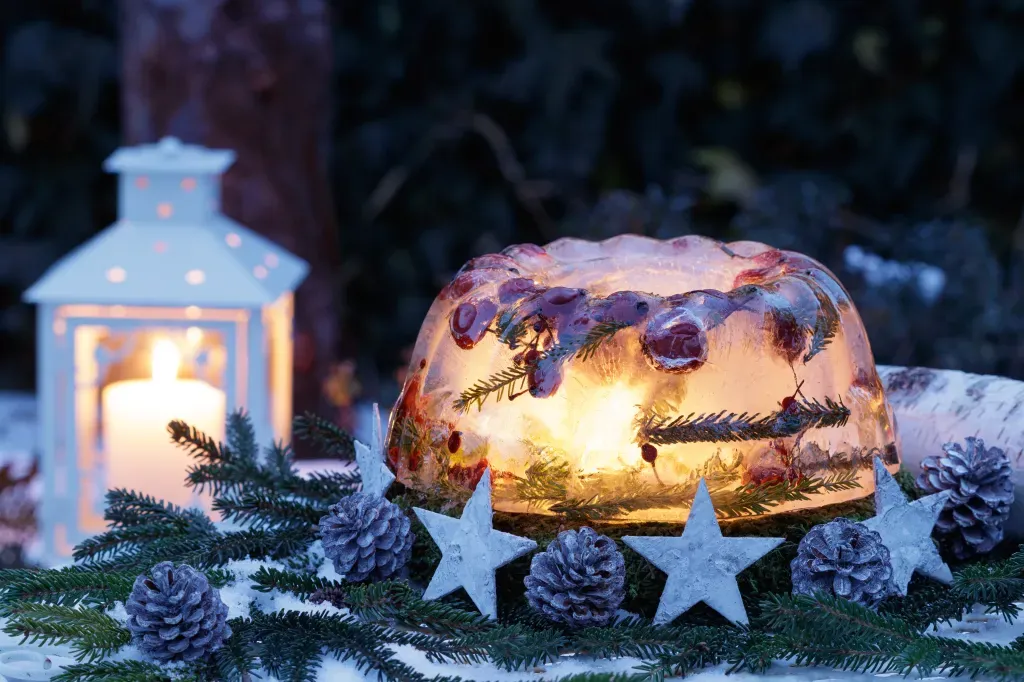
Make super pretty ice lanterns
As winter approaches and the days grow shorter, we lean into our winter traditions to fill our evenings with beautiful nature crafts. We’ve been making these ice lanterns for many years now and it never gets old. They add a touch of magic and whole lot of beauty to our winter days and nights!
Ready to make a few ice lanterns?! Here’s what you’ll need –
Supplies:
Tin cans- 2 sizes
Tape
Water
Pieces of nature
Stones
Step 1:
Fill up your larger can, a little less than halfway with water. If you add too much, just pour some out!
Step 2:
Fill the smaller can with stones and place it in the center of the larger can. Tape the cans to anchor the smaller can in the center of the larger can. Make sure the smaller can isn’t tipping to one side or your lantern will have one very thin side.
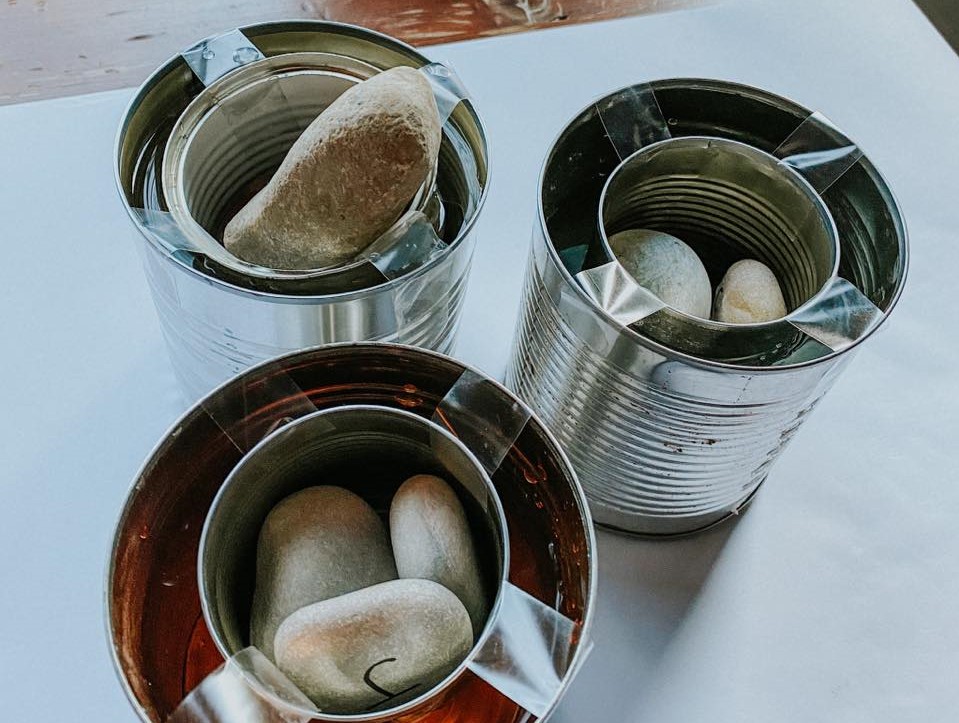
Step 3:
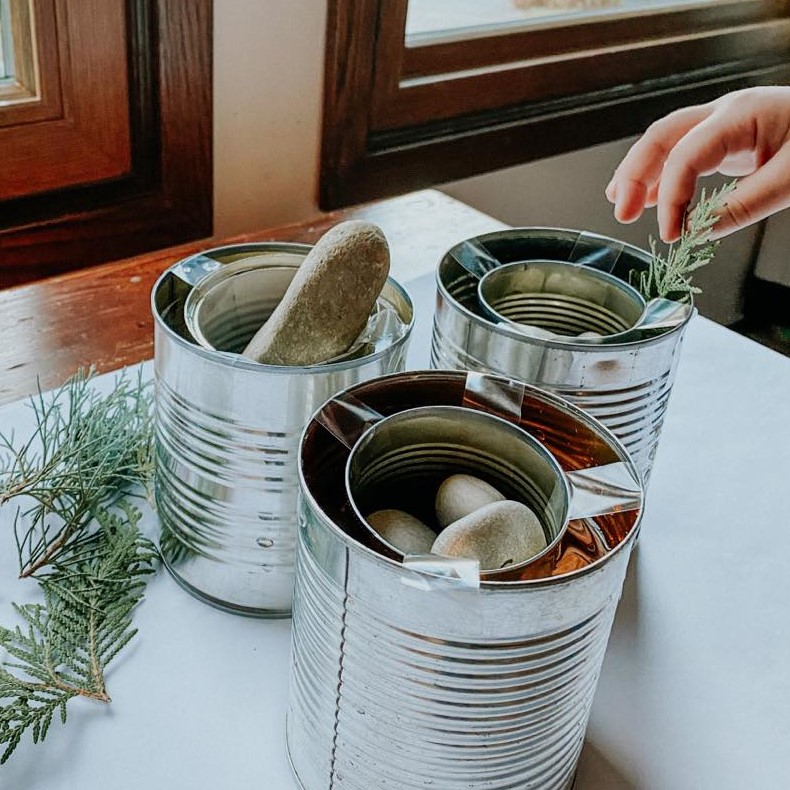
Place your pieces of nature into the water. We used various types of evergreens and burning bush berries from our yard. The color combination looks really beautiful and festive!
Step 4:
Place your lanterns in the freezer or outside if it’s cold enough.
Step 5:
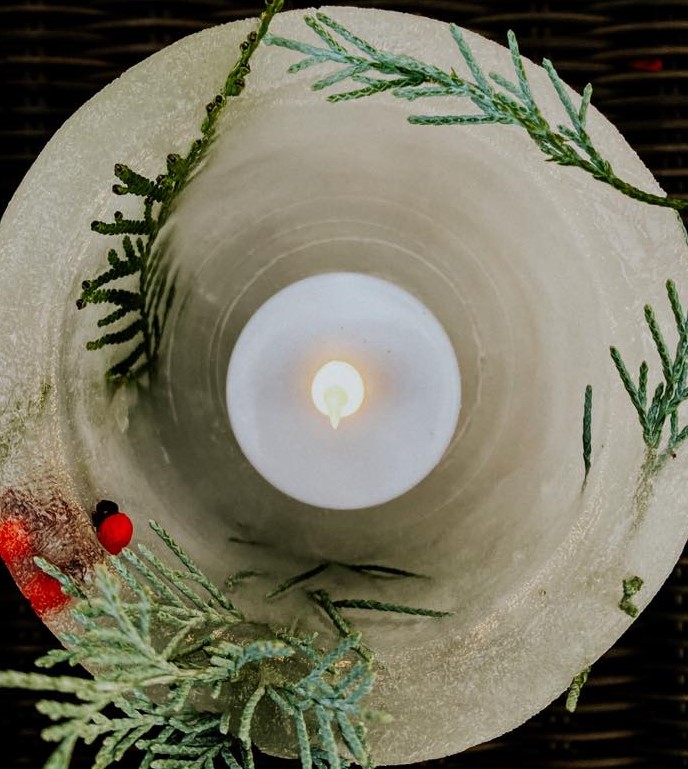
Once your ice lanterns are frozen, peel the tape off and take the stones out of the smaller can. Gently run warm water around the larger can and fill the smaller can with warm water as well. Melt just enough of the ice to wiggle the cans free from the lantern. Don’t let the warm water sit too long or it might melt too much of the lantern.
Place a flameless tea light inside of them and enjoy the beautiful glow!
For Witches & Muggles alike,
Sign up for my newsletter
For Witches & Muggles alike,
Sign up for
my newsletter
Let your inbox get a little more magical 💫


